I wanted to learn how to use Amazon Web Services (AWS) so I worked through a few online courses and decided that it was time to get practical. However, I was wary of getting charged accidentally while using AWS services.
To help others who are looking to do the same I thought it would be nice to have a simple guide describing how to do something in AWS that will show a bit of its free functionality and should take no more than an hour.
What are you going to achieve
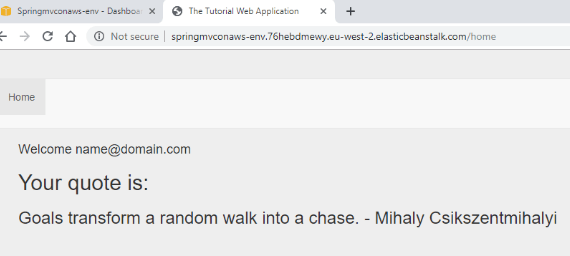
Using AWS Elastic Beanstalk you are going to deploy a simple web application that you will be able to access over the internet. Specifically, this is a Spring MVC Java application that allows users to create an account, login, logout and displays a random quote on the homepage once a user is logged in.
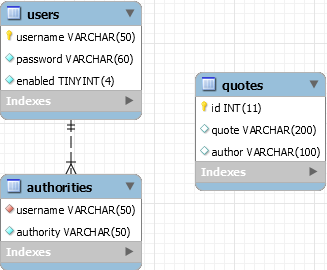
This application uses a MySql database to store user credentials and a set of quotes. The schema of the database is shown below. You are going to setup this MySql database on AWS and build the database using MySql Workbench.
Pre-requisites
-
Sql Workbench - This can be downloaded from here: Download MySql Workbench
-
A free tier AWS account - You can sign up for one here: AWS Free Tier Account
-
An application that will allow you to unpack a
.zipfile. There are a number of free applications available that will do this such as 7-Zip -
Optionally: An integrated development environment of your choice to inspect the web application code (I used IntelliJ).
The web application code
I have created a GitHub Repository with all the things you will need.
Download this as a .zip and unpack it to a sensible location on your computer.
In these folders is all the code required to alter the web application should you choose to do so.
There are two folders that you will definitely need. The ReadyToDeployWar folder and the DbSetup folder.
I have packaged the web application in a .war file in the ReadyToDeployWar folder.
I have also saved the SQL database creation scripts that you will need to build the database in the DbSetup folder.
Let’s get to deploying
Once you have an AWS free tier account navigate to https://aws.amazon.com and click on the “Sign in to the console” button in the top right corner. If this button says “Create an account” instead, don’t worry, just click on “My Account” and then “AWS Management Console” in the dropdown menu.

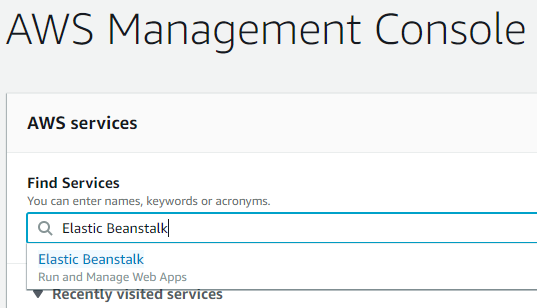
Enter your login credentials and you will be redirected to the management console. Type in Elastic Beanstalk in the “Find Services” search bar and select the option that comes up.
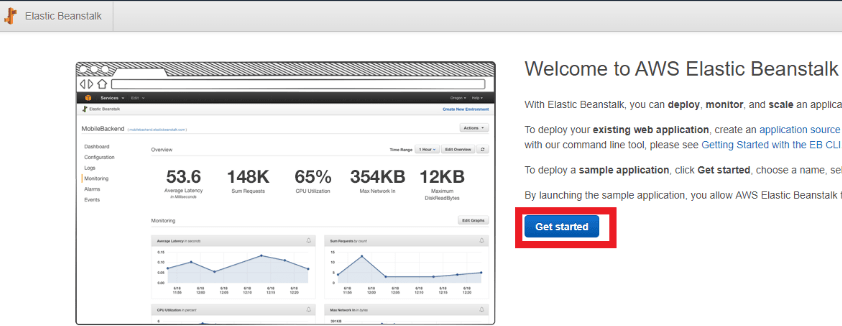
This will open the AWS Elastic Beanstalk welcome page. Click on the “Get started” button on this page.
Elastic Beanstalk is an Amazon service that will setup an entire environment for you in the Amazon cloud, based on your own configuration. The key components we will be concerned with are the EC2 instance, the database and the security groups. The EC2 instance is the computing capacity where your app will actually be deployed. We will be setting up a Tomcat EC2 instance. We will also be setting up a MySql database and configuring security groups to allow your computer to connect to that database.
Configuring Elastic Beanstalk to create an environment
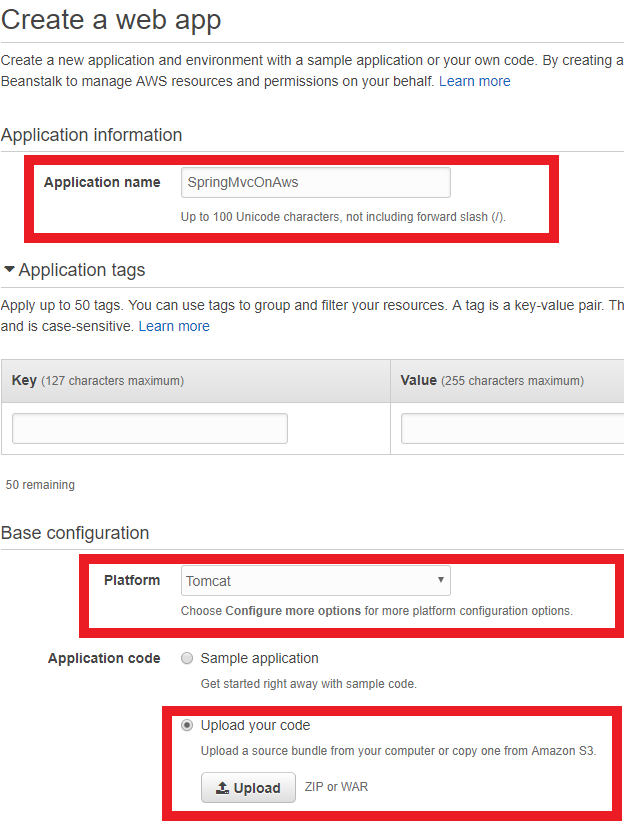
You will be directed to the “Create a web app” page where we are going to have to start adding some configuration details. First add in the application name, here I have chosen “SpringMvcOnAws”. Don’t worry about filling in the application tags section underneath as this is optional. Next choose the “Tomcat” platform from the drop down box. We are going to upload our .war file with our packaged web application so select the “Upload your code” choice and click on the “Upload” button.
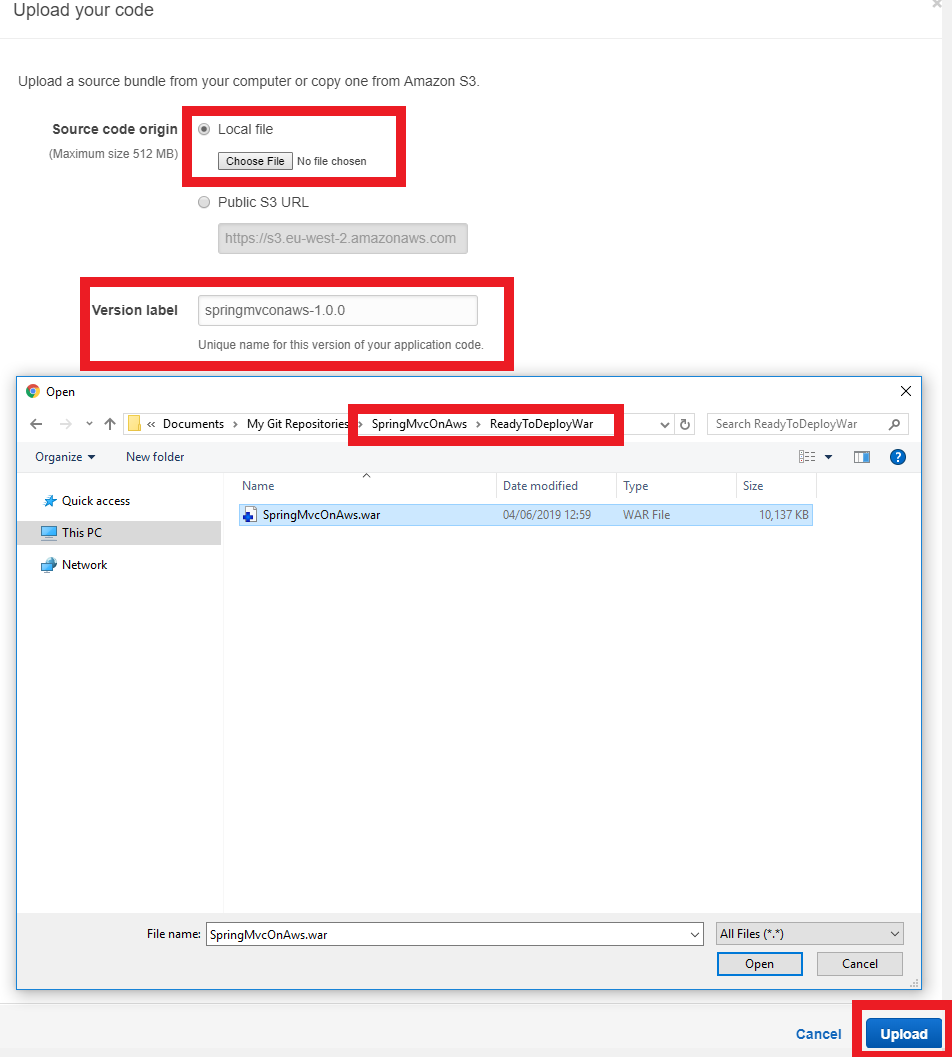
Select the “Local file” option and click on the “Choose File” button. You will then have to locate the SpringMvcOnAws.war on your own computer. This will be in the ReadyToDeployWar folder wherever you unpacked the zip file mentioned in “the web application code” section above. Select that file and give it a version label. I chose to call it “springmvconaws-1.0.0”. Then click on the “Upload” button.
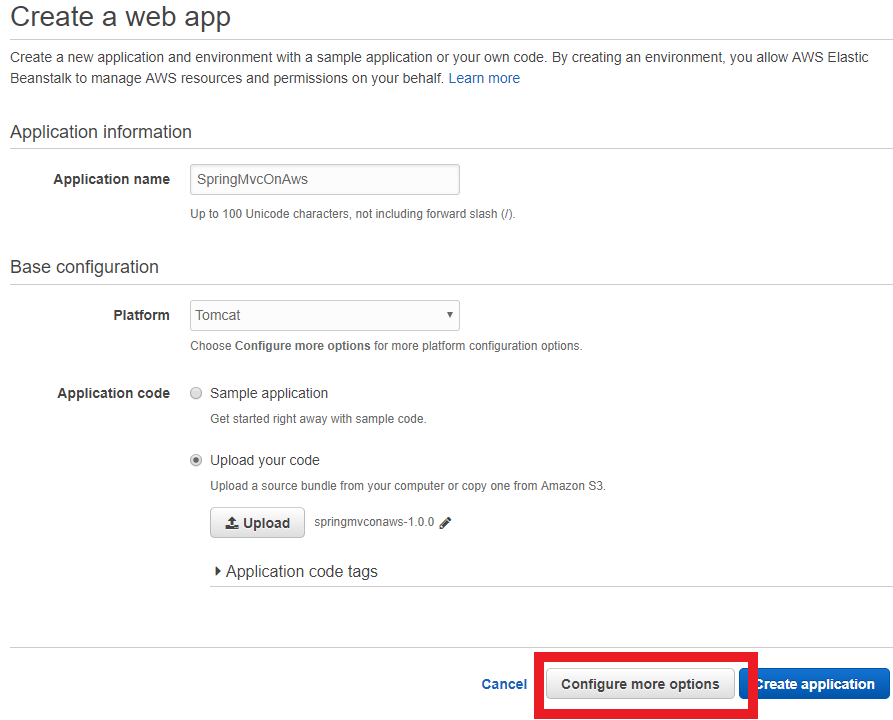
This will return you to the “Create a web app” page and you may be tempted to click on the “Create application” button but don’t as we still need to add a little more configuration, specifically for the database. Instead click on the “Configure more options button”.
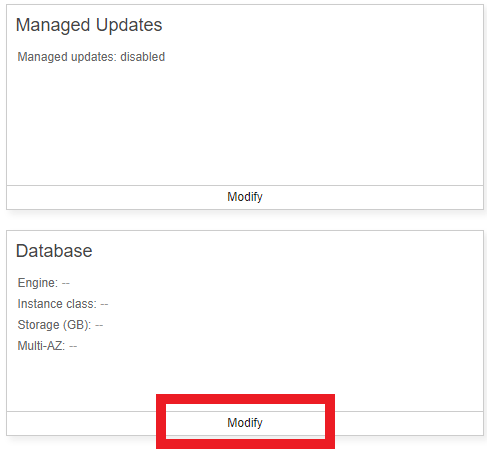
This will take you to the Configure page. Now scroll down and click on “Modify” under the database section.
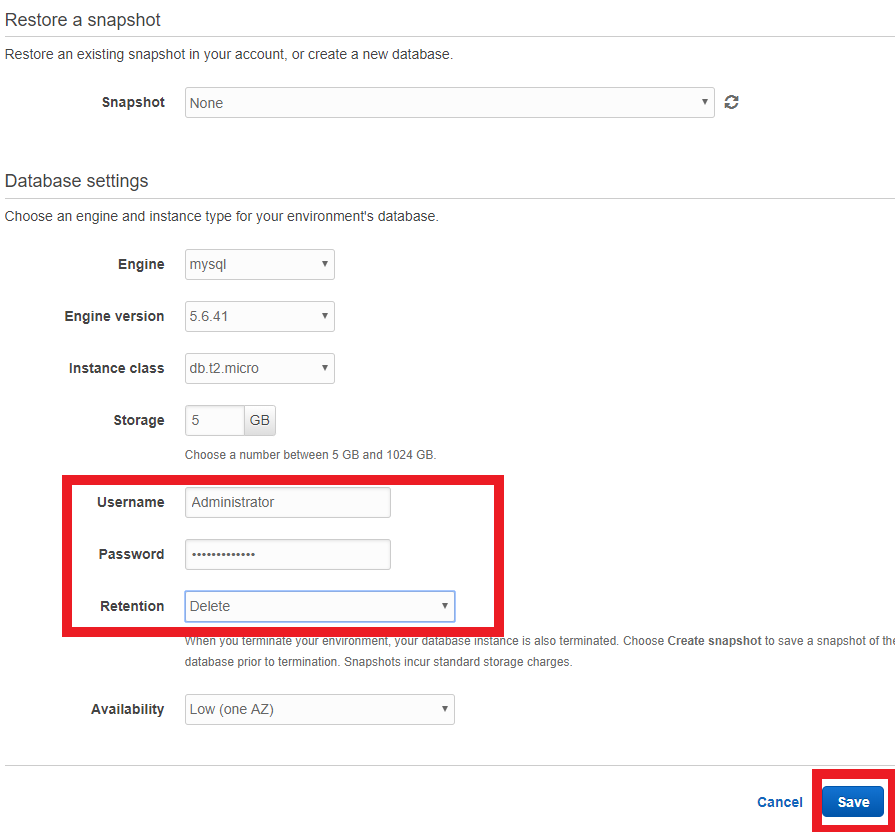
This should open up a “Modify database” page where we will need to add additional configuration. Most of the fields should be filled in for you as it automatically sets it to the free tier database configuration. Double check this by comparing the values with the image below.
You will need to add a Username and Password for your database. I chose “Administrator” and a unique, secure password for mine but I recommend you choose your own. Make it something memorable as you will need these later. Also change the Retention to “Delete” using the dropdown as this will make sure you don’t retain anything when you later want to destroy the environment. Once this is all done, click on the “Save” button.
You will be directed back to the configuration page. You will notice that in the Configuration presets at the top it has gone from “Low cost (Free Tier eligible)” to “Custom configuration”. Now this made me think I was going to be charged but don’t worry I wasn’t.
This is optional, so feel free to skip this step, but, it is worth noting that if you actually want to be able to access the Tomcat EC2 instance where your application will be deployed, you will have to do some additional configuration. Specifically you will need to click on the “Modify” button in the security section and you will need to add a key pair. You will first need to set up that key pair. To do this follow this Amazon guide to key pairs.

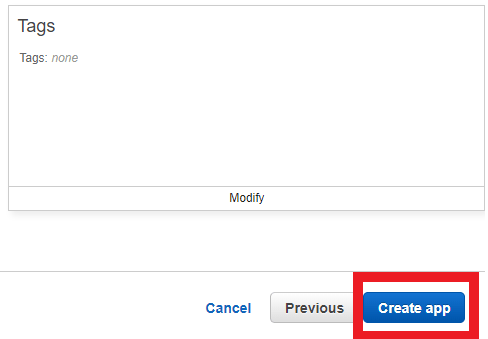
We are now ready for Elastic Beanstalk to set up our environment for us, so just click the “Create app” button at the bottom of the configuration page.
Elastic Beanstalk will now begin setting up your environment.
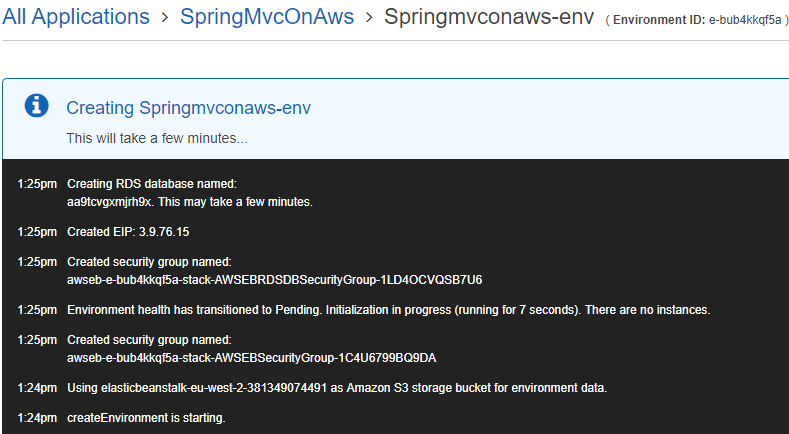
This may take some time (approx 10 to 15 minutes) so go for a coffee and hopefully it will be ready to go when you come back.
Configuring security groups and the database
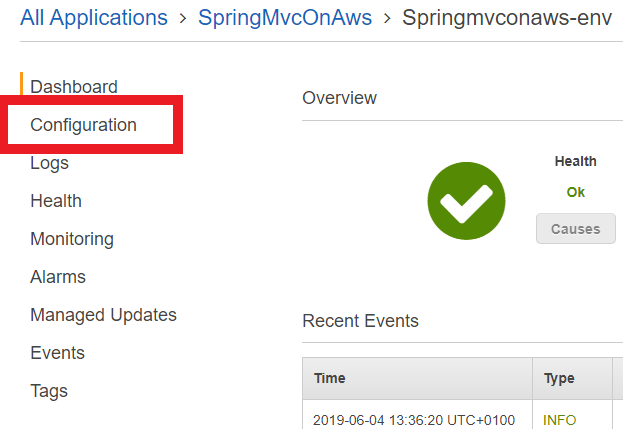
Once the environment is setup you will be redirected to the environment dashboard. We are going to need to do some additional configuration so we can access and set up the database. Click on “Configuration” on the left hand side to go back to the environment configuration page.
Scroll down to the database section again and click on the link in that section.
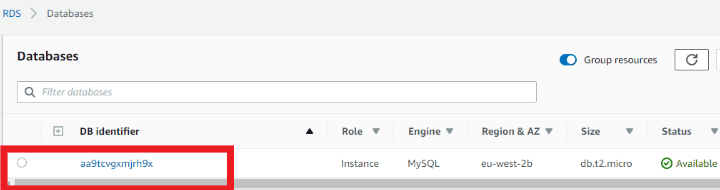
This will take you to a page that shows the database instances setup under your account. There should only be one database here so click on the ID link of that database.
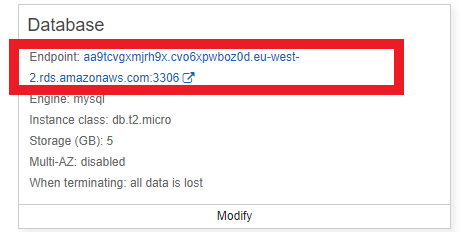
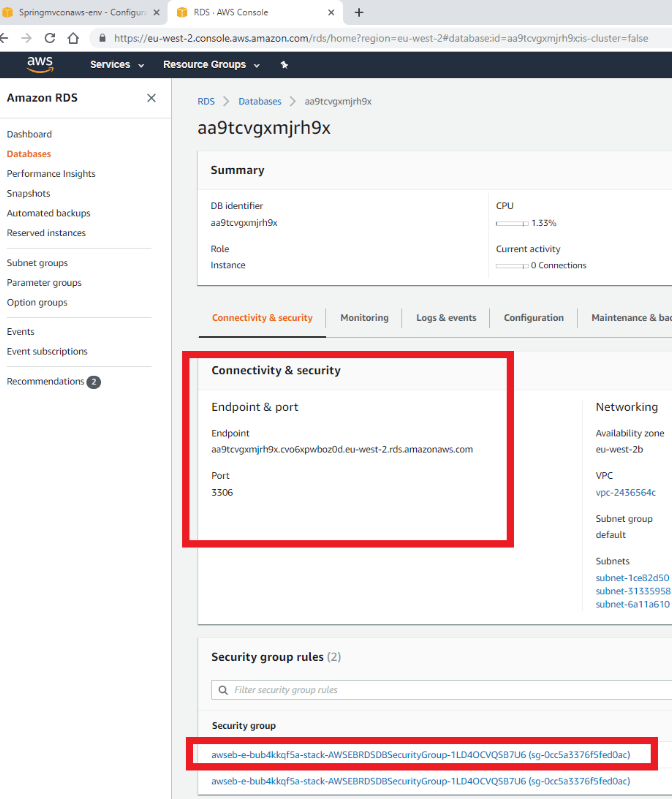
An overview page will be displayed listing all the details of that database instance. Note the endpoint and port details stated on the left. We will need these later to connect to the database, so make a note of them.
Look at the security group rules section at the bottom. We are going to need to change the inbound rule to allow your computer to connect to the database. Select the link in this section that relates to the security group with inbound listed on the right.
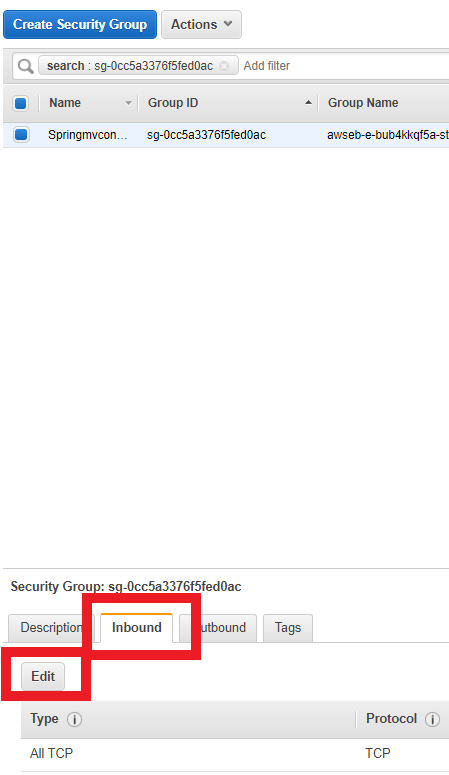
This will take you to a security groups overview page. You should have one security group listed. Select the inbound tab at the bottom and click on the “Edit” button as we need to add a rule.
You should now see an inbound rules window. Click on add rule and select “MySql/Aurora” in the type drop down. This should automatically put the protocol as TCP and the port range as 3306. In the Source section you then need to select “My IP” in the drop down menu.
This allows your computer (or the computer at that IP) to connect to the database via TCP at port 3306. You can choose to add a description or you can go ahead and just click on “Save”.

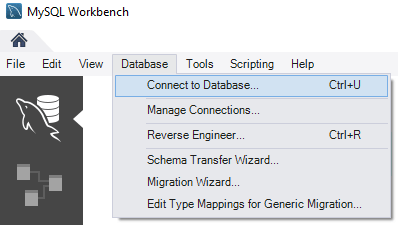
We should now be able to connect to that database so open up MySql workbench on your computer. Click on the database menu and select “Connect to a database”.
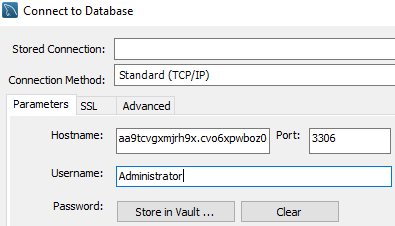
Now do you remember those database connection details we saw earlier? We are going to need to add them in here. Add the hostname and port that you saw on your database details page and then add the username and password that you used to configure the database at the start. Once complete click on the “OK” button.
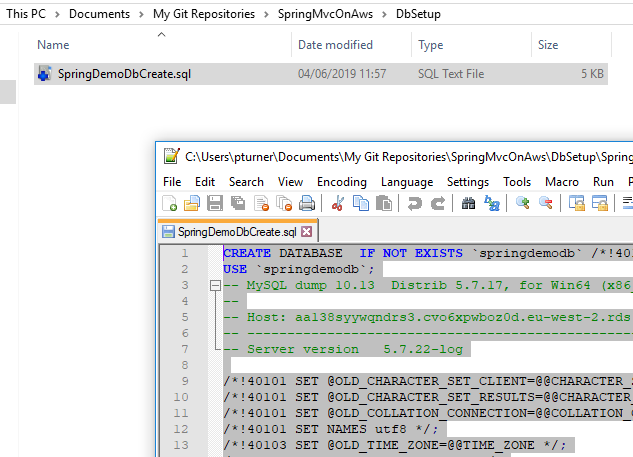
You should see your AWS database open up in MySql Workbench. We now need to add a schema to this database so that the web application can store its user credentials and quotes somewhere. This is where you are going to need the sql script from the zip file you unpacked. You should find this SpringDemoDbCreate.sql file in the DbSetup folder. Open this file in text editor or IDE of your choice and copy all of the contents.
Go back to MySql Workbench and copy it into the Sql file section on the right. Make sure you have nothing highlighted in that section then click the run sql script button. You should see the script running as it produces output in the action output window. Once that has finished click on the refresh button next to the schemas section and you should see the springdemodb schema appear. Feel free to explore the tables in this schema if you want to.

Your database is now set up and ready to use.
Nearly there! Just some parameters needed
Congratulations! you now have our web app running and the database setup.
Problem is your web application doesn’t currently know where your new database is. So we need to set up some properties to tell it where to look and how to connect.
Let’s go back to the configuration page for your environment. You are now going to click on the “Modify” button in the Software section.
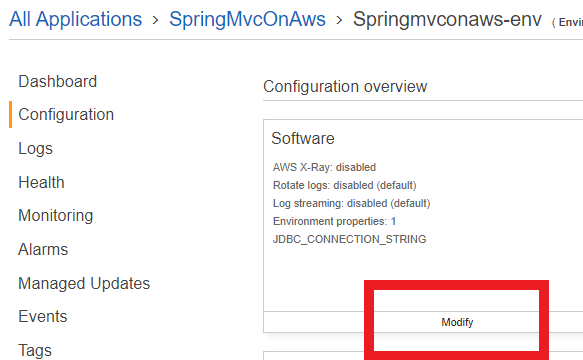
At the bottom of this page you will see the environment properties section. I have set up the web application to look for specific properties that you can add here.
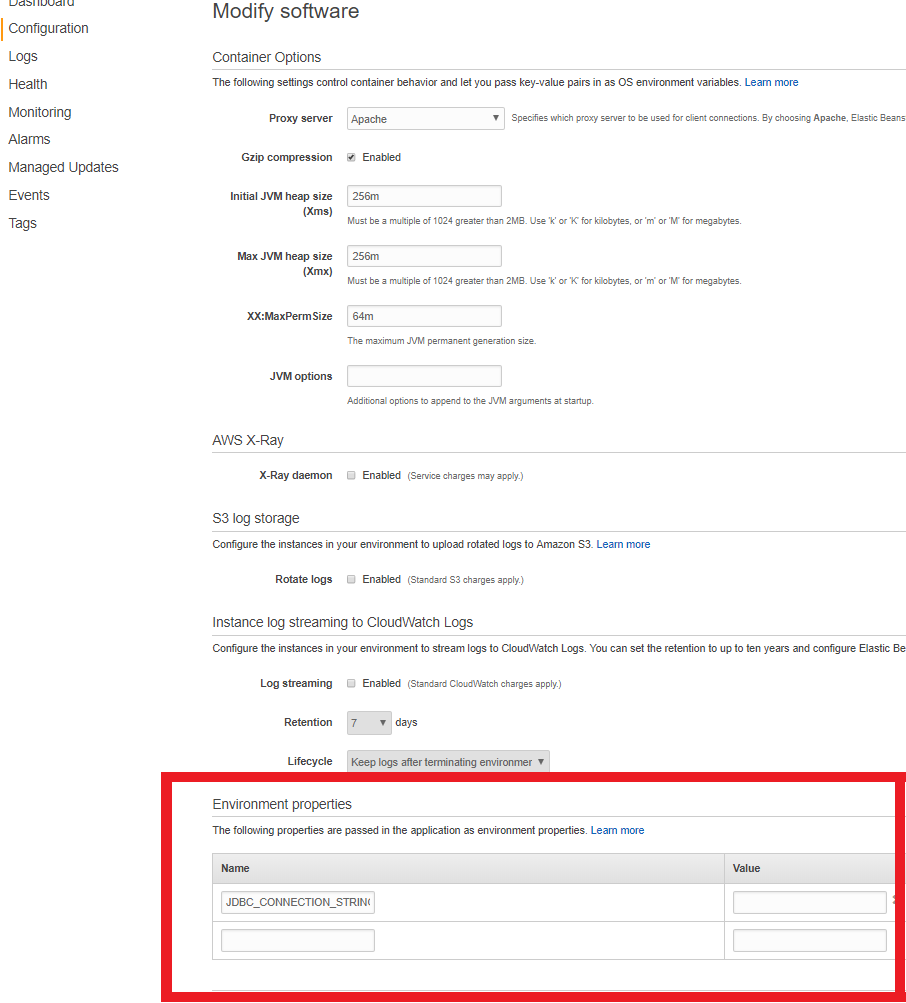
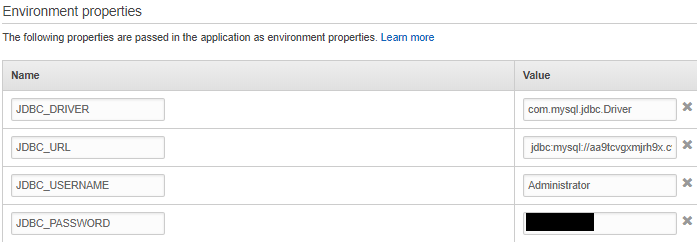
Add the following environment properties in. You will need to insert your own database url, username and password in.
| JDBC_DRIVER | com.mysql.jdbc.Driver |
| JDBC_URL | jdbc:mysql://{add your db url here}/springdemodb |
| JDBC_USERNAME | {add your username here} |
| JDBC_PASSWORD | {add your password here} |
Then click the “Apply” button.
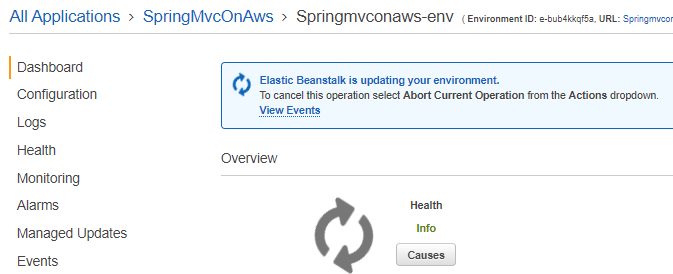
The environment will now update. You will be redirected to the environment dashboard where you will see the message at the top saying it is updating.
That’s it. Let’s explore your new web application
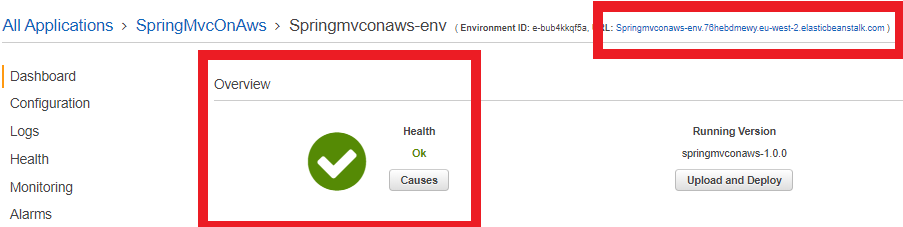
Once the environment is ready you will see a green tick on the environment dashboard. This means you are ready to go.
Click on the link at the top of the page that will take you to your publicly accessible web application.
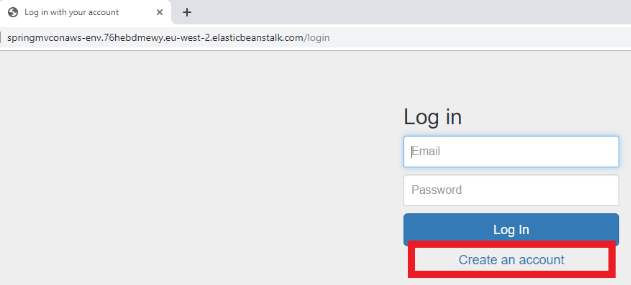
This should open up a login page for the web application. You will need to create an account to get into the homepage so click on the “Create an account” link.
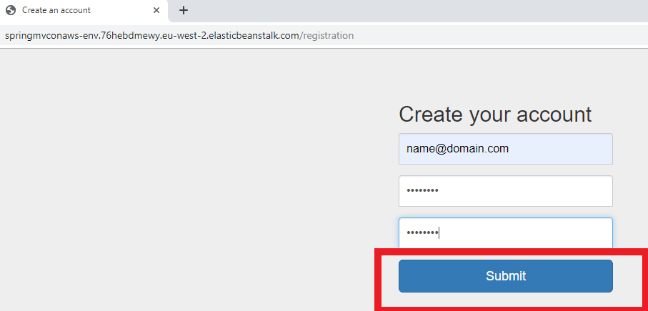
I recommend using fake credentials here as the web application is not secure. The username has to be in email format so put in “name@domain.com” and the password has to be over 8 characters so let’s just put in “password” in both the password and confirm password section. Click on the “Submit” button when you are ready.
Bingo! You should now see the homepage with the random quote displayed.
It should have also stored your credentials in the database so you should be able to log out and log back in again using those credentials.
What to do next?
You could try and expand on the web application and then upload the new version to AWS. This is very easy to do in AWS. Simply go back to the environment dashboard and select the “Upload and Deploy” button in the middle of the page. Find your new .war, give it a version name and click “Deploy”.
You can also tear down the entire environment. To do this go back to the environment dashboard and click on the “Actions” button and click on “Terminate Environment”.
Alternatively you could try and deploy the same application using Microsoft Azure and make a blog post about it.
Good luck and happy developing!