
In this post we will be covering some basic set-up of our development environment (including the SAP Web IDE), going over MVC architecture with particular regard to SAP applications and finally building your first SAP application.
Getting Started
The first thing you should do is sign up to SAP Cloud Platform (SCP), signing up to SCP will let you deploy and build applications in the cloud. By clicking this link you can sign up for your free account that gives you access to a suite of developer tools and essentially let’s you play around as much as you like with SAPUI5!
SAP Web IDE
Now that you have a SCP account, you can access the Sap Web IDE. You can get to the IDE by logging into the SCP website, you will be taken to the cockpit which should look like the screenshot below:
Now you can either download and run the SAP Web IDE locally, or continue to use it via SCP. If you are continuing without installation, skip this subsection.
Installing the SAP Web IDE locally
The first thing you need to check is your version of Java, to do this open command shell in Windows or terminal in OS-X and run the command java -version.
You must have version 1.7 or higher installed to proceed, if you do not meet this pre-requisite then please download Java from this link.
Now that we’ve cleared the pre-requisites, we can download the IDE!
Step 1
Proceed to the SAP Development tools web page and download the relevant package for your environment.
Step 2
Extract the zipped files to either somewhere on your harddrive e.g. C:\SAPWebIDE on Windows, or to /Applications/SAPWebIDE/ on OS-X.
Your workspace will be a folder inside of this directory called serverworkspace, I would keep back-ups of this folder if you aren’t using source control!
Step 3
To run the SAP Web IDE locally you should enter your install folder and enter the eclipse folder and run orion.exe, this will run the IDE for you to access at localhost:8080 and you will be on your own SAP Web IDE!
Note: For those that don’t know, localhost is analagous to the ip 127.0.0.1, so you can also access the IDE from http://127.0.0.1:8080.
Using SAP Web IDE
I will be using a local install of the Web IDE on my Windows laptop, throughout this tutorial (and likely this whole series).
Local installation
When you (create an account and) log-in you will see the Orion dashboard.
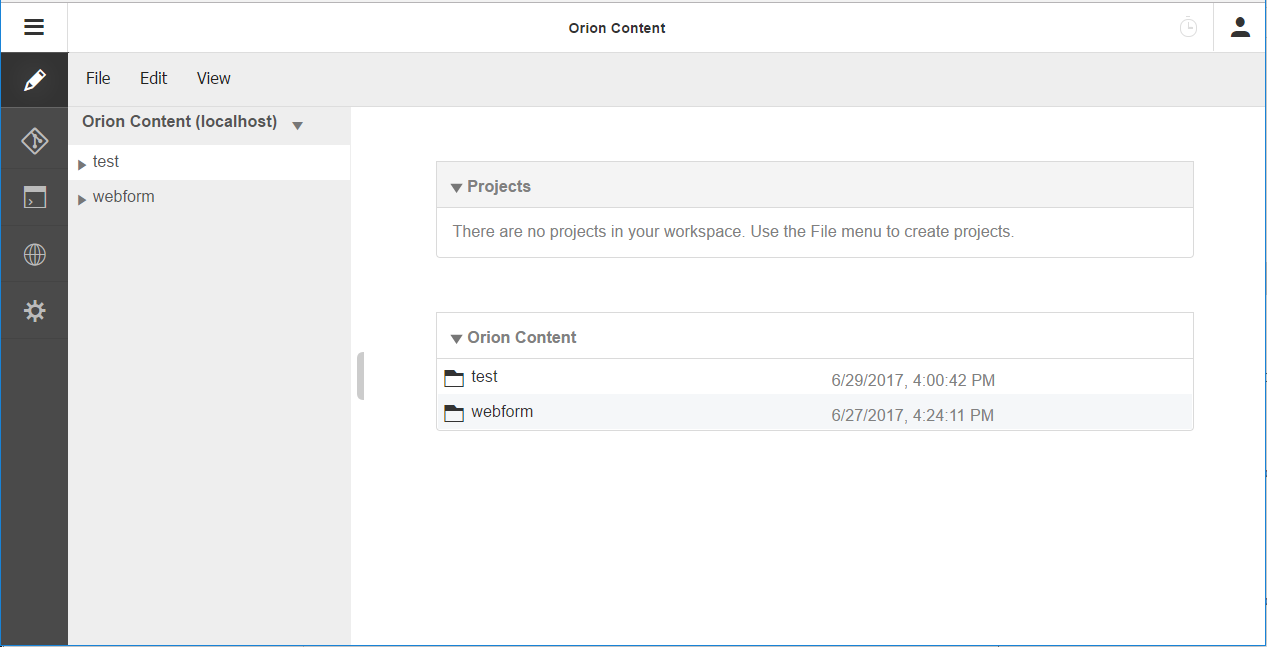
However we aren’t at the Web IDE yet, we must now navigate to http://localhost:8080/webide/index.html and this will bring you to the Web IDE, as pictured below:
SAP Cloud Platform
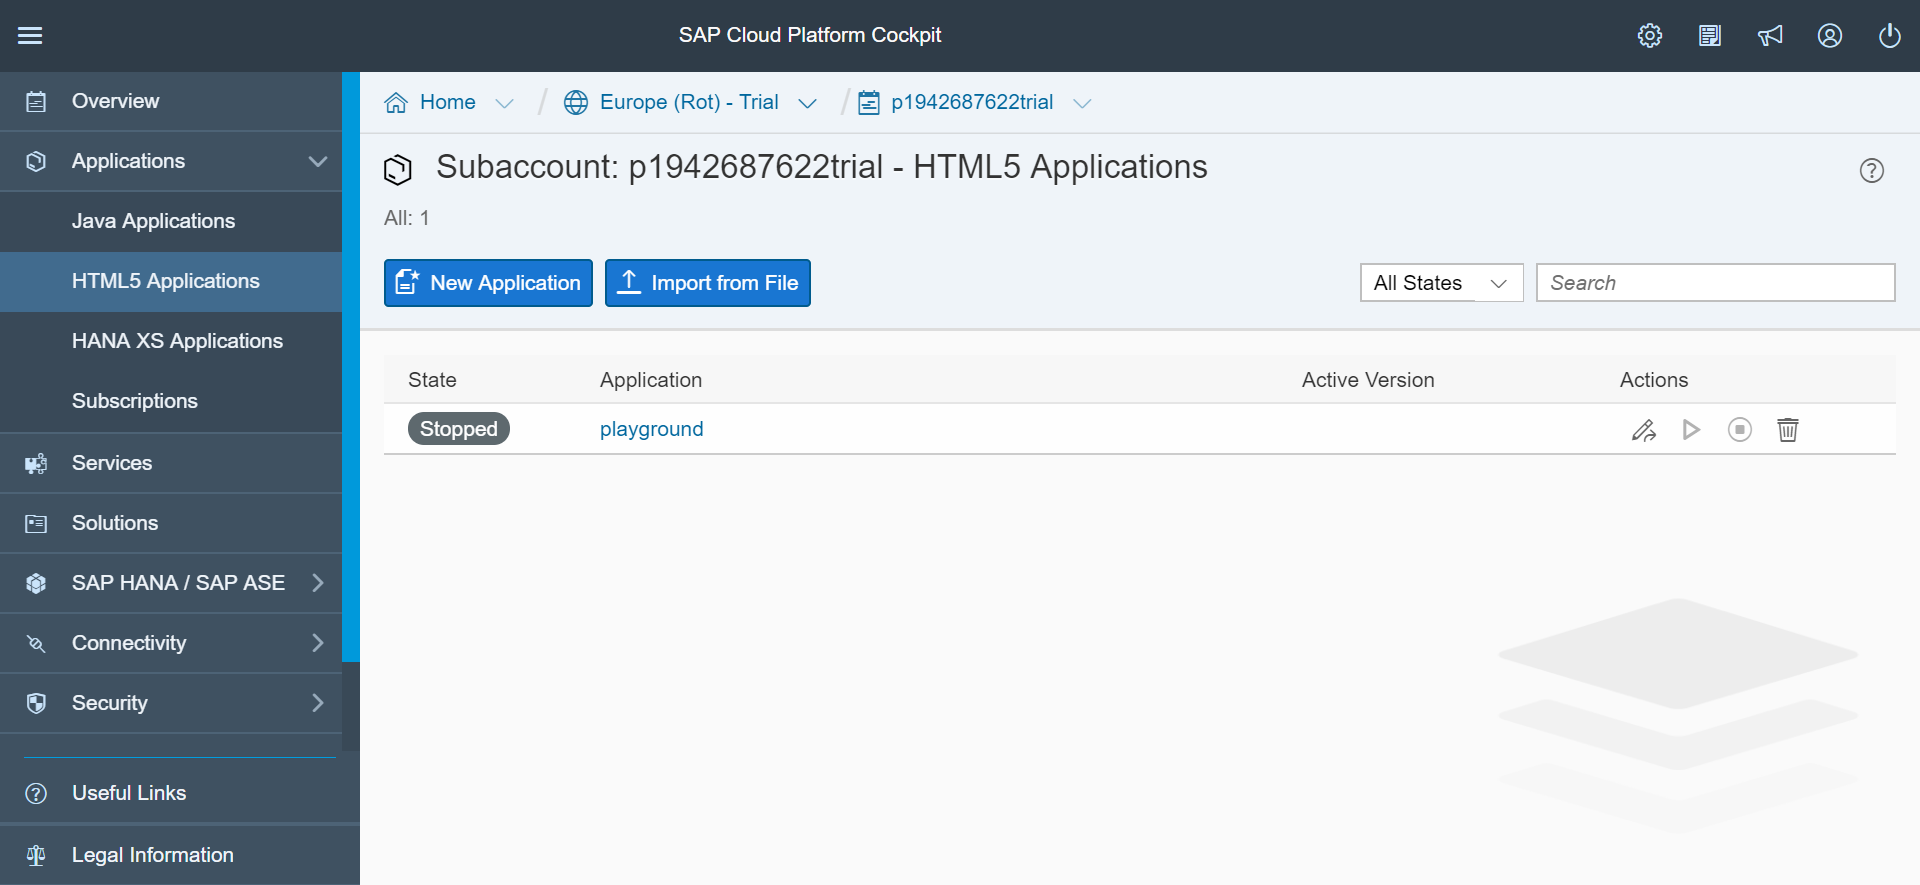
Navigate to the SCP Cockpit and you should see the Cockpit dashboard, as pictured below:

Understanding MVC-architecture
SAP applications follow the Model-View-Controller (MVC) architecture. MVC architecture is a design pattern that decouples the three major parts of any application, the model, view and controller.
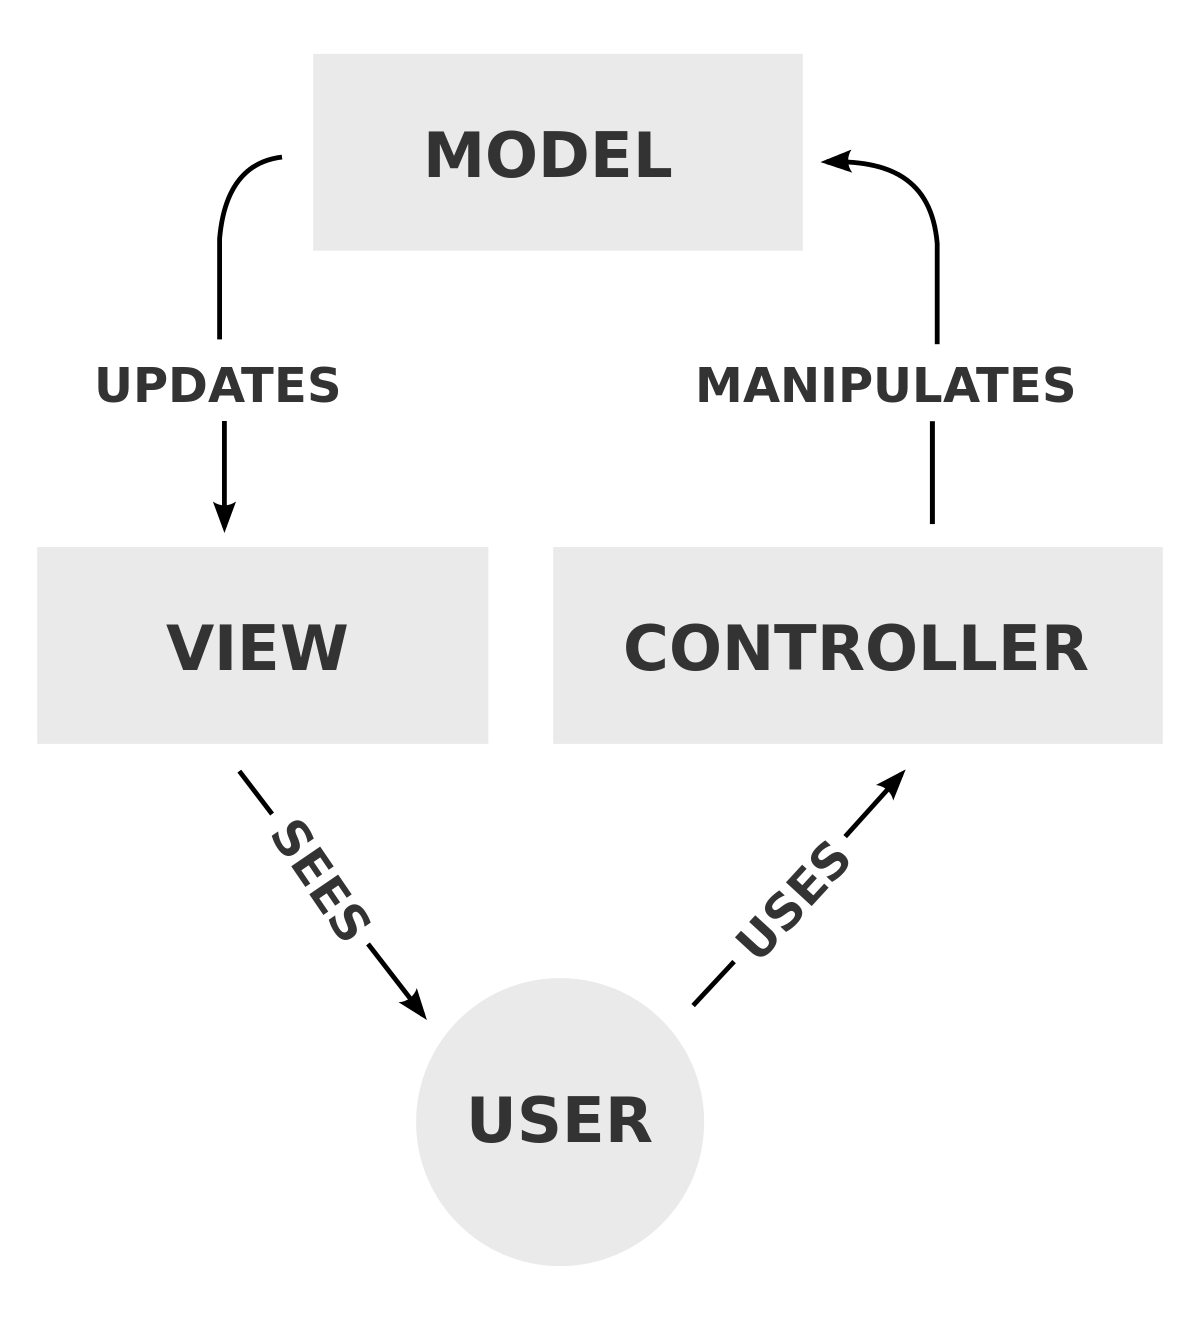
As you can see in figure 1 above, this is the basic workflow of an MVC application. The user’s actions are routed to the Controller, which in then manipulates the Model. The Model updates the View, which is what the user sees and interacts with.
Model
The model is the business logic of the application, it manages the data, logic and rules of the application. The model is typically used to store data, which can be retrieved via the controller and displayed in the view.
View
A view can be any outputted representation of data, such as the front-end of your application or at a component level, a chart or diagram. The view will change according to changes in the model.
Controller
The controller is essentially the application router, it takes user input and sends the relevant commands to the model or view.
SAP project file structure
In a SAP project there are a number of folders and files that you will not recognise if you are not familiar with MVC. Let’s have a quick overview.
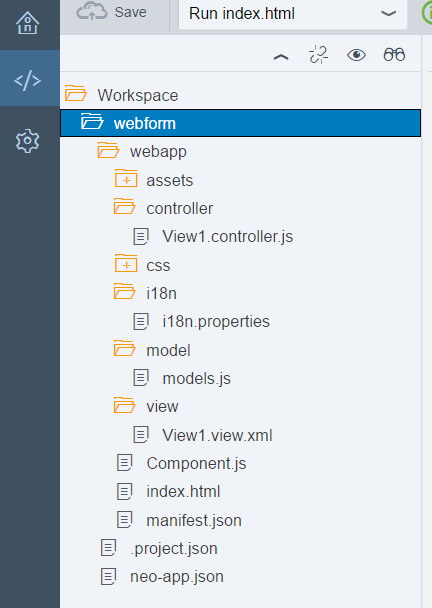
Within a given project, you have three core folders. What are they? You guessed it: Model, View and Controller! If we create a single page in our application, let’s call it homepage, then there will be a model, view and controller for this and for every other page you want to create in your application.
Let’s build an application
Note: An incredibly useful resource is the SAPUI5 Explored, it provides a comprehensive list of UI5 entities as well as examples (including code) of how they are used. It’s just like a developer network for a language and I will be referencing it throughout this section.
Creating a SAPUI5 project
Open up your IDE for developing the application, if you’re using the SAP Web IDE then we want to click ‘New Project from Template’.
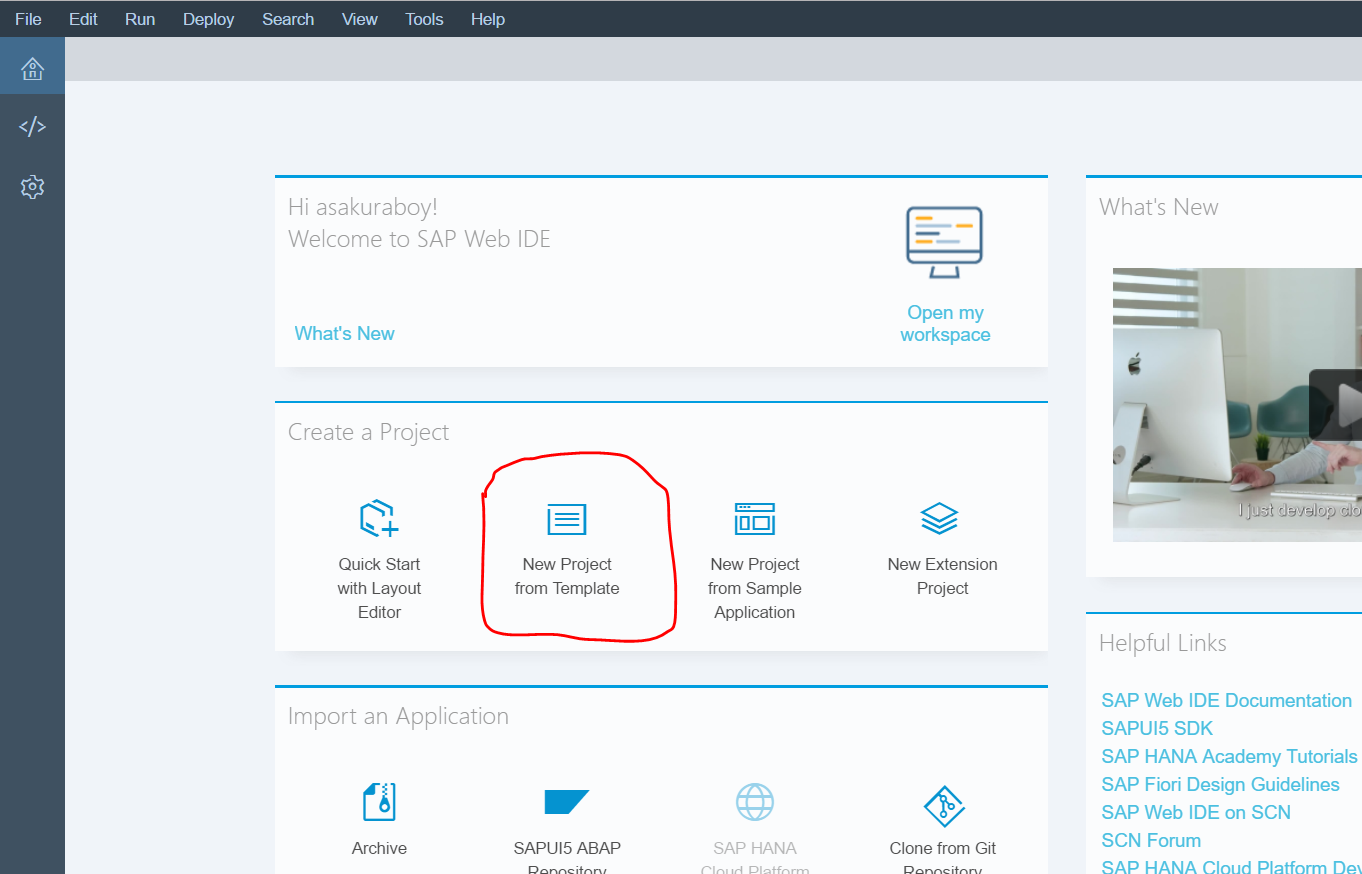
This will open a dialog and you should select the tile that says ‘SAPUI5 Application’, this will give us a simple bare-bones application.

At this point you will enter your project name (whatever you like, I’d call it ‘playground’ or something similar) and click finish.
Running the Project
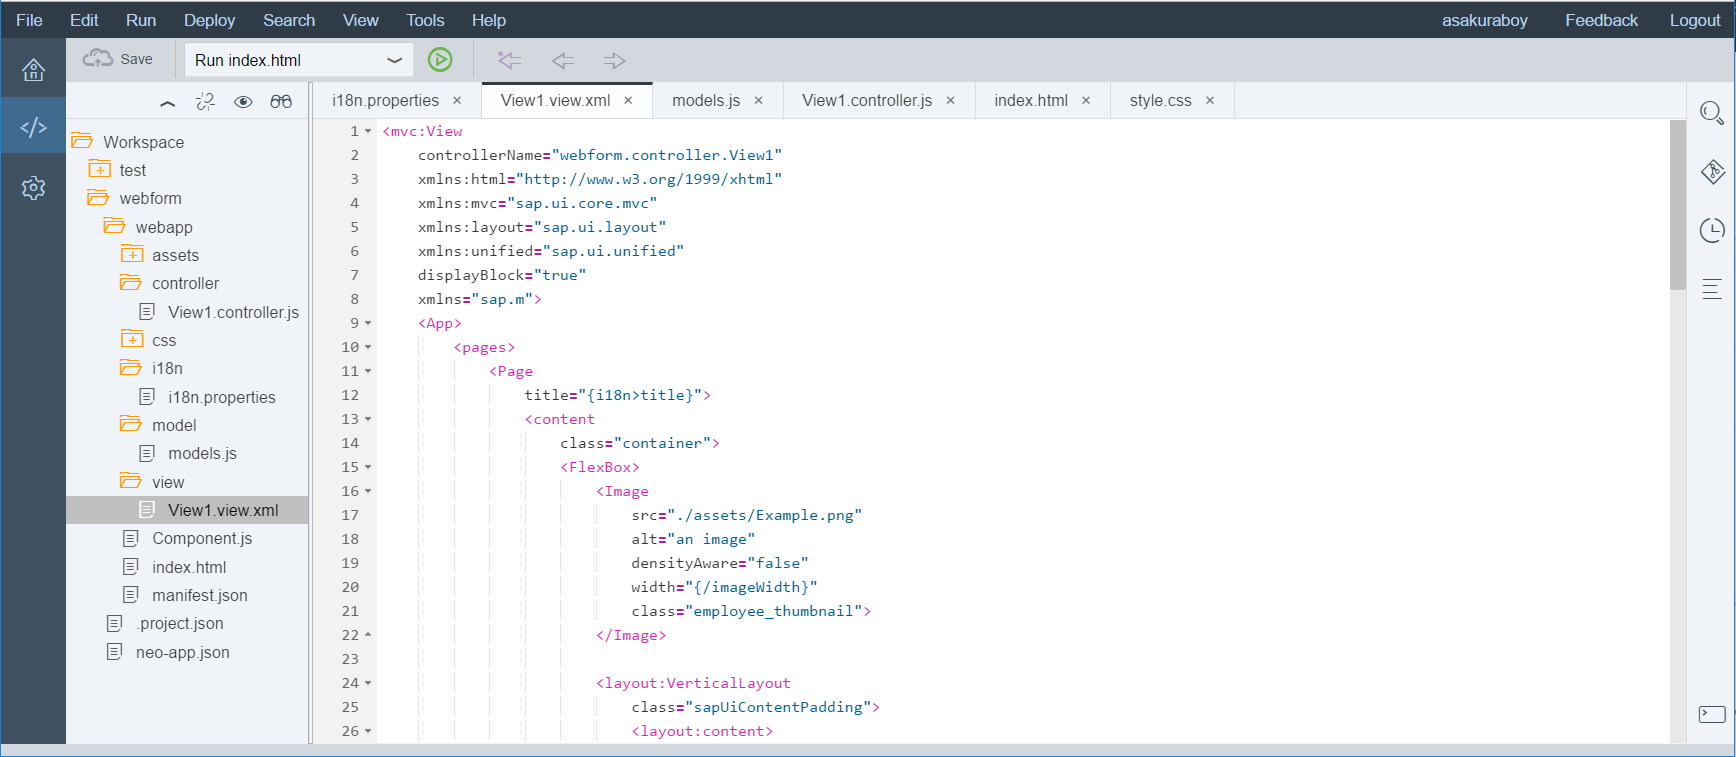
Now you have your bare bones project, if you click the run icon as pictured below.

Clicking this will build a basic run configuration that will run the application when it is selected and you click run. We’ll get into other run configurations at a later date.
Exploring the project
The index.html is what instantiates the application, if you look in the file you can see in the header that not only are we loading a bunch of SAP scripts but we then run a script that starts the SAP shell and attaches it to the DOM.
To adjust some of the values for the title etc, we must edit our properties file which holds this information and is referenced whenever we want to print the title name. Which brings us to Internationalisation (the i18n folder)!
Internationalisation (i18n)
As mentioned earlier in the post, there are the MVC folders but there is also the i18n folder. This folder acts as the localisation for the application, within this folder is a property file which consists of key-value pairs.
For the purposes of this tutorial, this properties file will only hold the applications title and description in whichever language you choose. For a real application however, you could use this folder to hold property files for a variety of different languages.
Note: To make sure that your application is properly localised, use i18n labels for form labels and the like.
Adding UI5 controls
For the purposes of this tutorial we won’t be editing the controller or model. We will only be editing the view to get used to importing UI5 controls.
Navigate to your view folder and open your view. If you followed the instructions properly when creating the project, this should be called View1.view.xml. It should look like this:
<mvc:View controllerName="test.controller.View1" xmlns:html="http://www.w3.org/1999/xhtml" xmlns:mvc="sap.ui.core.mvc" displayBlock="true"
	xmlns="sap.m">
	<App>
		<pages>
			<Page title="{i18n>title}">
				<content></content>
			</Page>
		</pages>
	</App>
</mvc:View>
In the View tag (from the mvc namespace, as defined in the very same tag), we define a number of important things such as our namespaces for MVC, HTML and basic SAP. We then we use a number of tags, all imported from the sap.m namespace, our default. Other namespaces we have set up for this view have an alias such as html or mvc and you must prefix their controls.
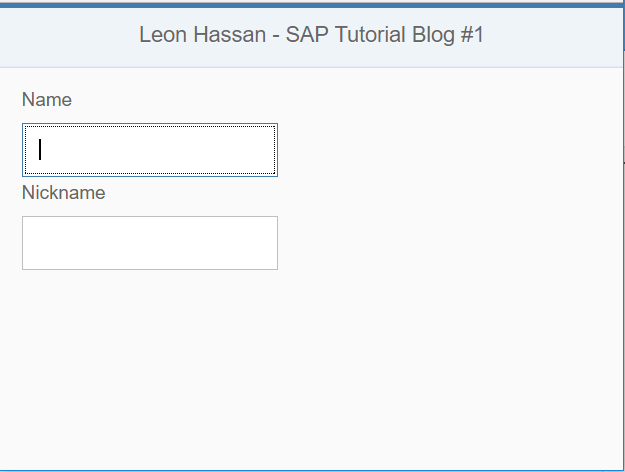
Let’s add another namespace for UI5’s Layout. In your initial View tag, add the following line: xmlns:layout="sap.ui.layout". Now that we’ve got the namespace available to use, let’s add one of it’s controls to our view.
<layout:VerticalLayout
	class="sapUiContentPadding">
	<layout:content>
		<Label text="Name" labelFor="input-name"/>
		<Input id="input-name" required="true"/>
		<Label text="Nickname" labelFor="input-nickname"/>
		<Input id="input-nickname"/>
	</layout:content>
</layout:VerticalLayout>
Add the above code into your content tag, save and run the application.
Now have a brief look through the SAPUI5 Explored site and find a control you’d like to use in your project.
Adding a control of your choice
Found one? Good! I’ll be using the ‘Add Bookmark Button’ action control.
The first thing you need to do, is check which library the component comes from. This is the first line of the entity page on SAPUI5 Explored, for the component I have chosen this is: sap.ushell.ui.footerbar.AddBookmarkButton. The library in this case is ushell.
To access a component you have to import the corresponding library, so in your view file add the following code: xmlns:ushell="sap.ushell".
Note: An issue with UI5 is the inability to load a single component from within the framework, a hacky workaround is to take the JavaScript model of the component and import it as you would a custom control (which will be covered at a later date), but this will have issues where there are dependencies you are unaware of!
So we’ve mapped our chosen component library to a namespace, now to use the component we have to prefix it’s XML tag with the namespace we are calling it from. So in my case my tag would look like this:
<ushell:AddBookmarkButton
    text="Add Bookmark"
    title = "Sample Bookmark title"
    subtitle = "Sample subtitle"
    info = "Sample Info"
    numberUnit = "USD"
    showGroupSelection = "true" />
To see which parameters should be included, you should look at the properties of the control and check a code example. You can view a code example by clicking on an example and then clicking the code button in the top right corner of the window.
