Introduction
The reference panel is a valuable feature in Dynamics 365. Subgrids generally occupy a good amount of space in a form. When we need to add multiple subgrids in the same form, it not only impacts the performance, the UI also doesn’t look good for the users. The reference panel overcomes this issue.
What is the reference panel?
As per MSDN, a reference panel is a single column section. You can insert subgrids, quick view control, or a knowledge base search control inside a reference panel section. Each control that you added in the reference panel appears as a vertical tab within the panel at runtime. You can drag and drop the various controls within the reference panel section. The default tab at the runtime is the first control added to the reference panel. The other tabs appear in the order in which they are added in the form editor. To delete a tab, use the delete key on your keyboard.
When you insert a reference panel, by default, it’s added as the last section in the tab. You can add only one reference panel per form.
Steps to create
- As a system administrator, add your entity (account in this scenario) to a solution.
- Open the entity form on which you wanted to insert the reference panel.
- Go to Insert -> Section -> Reference Panel
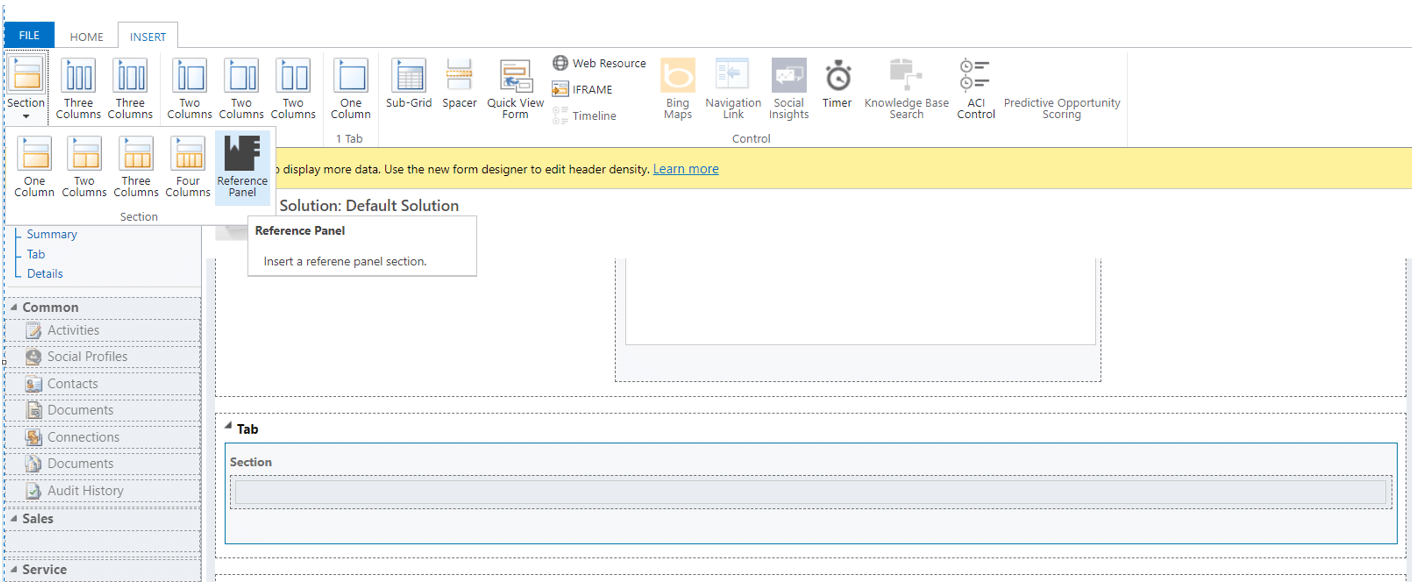
- Once you click on the reference panel, a section will be created as the last section in the tab.
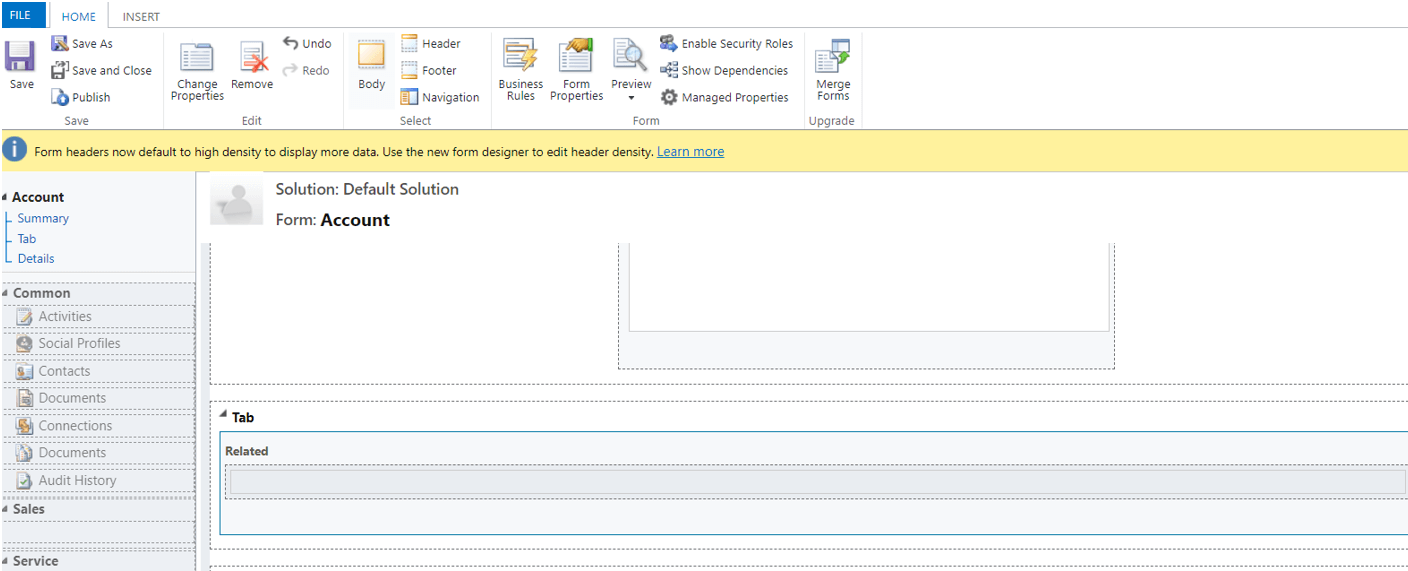
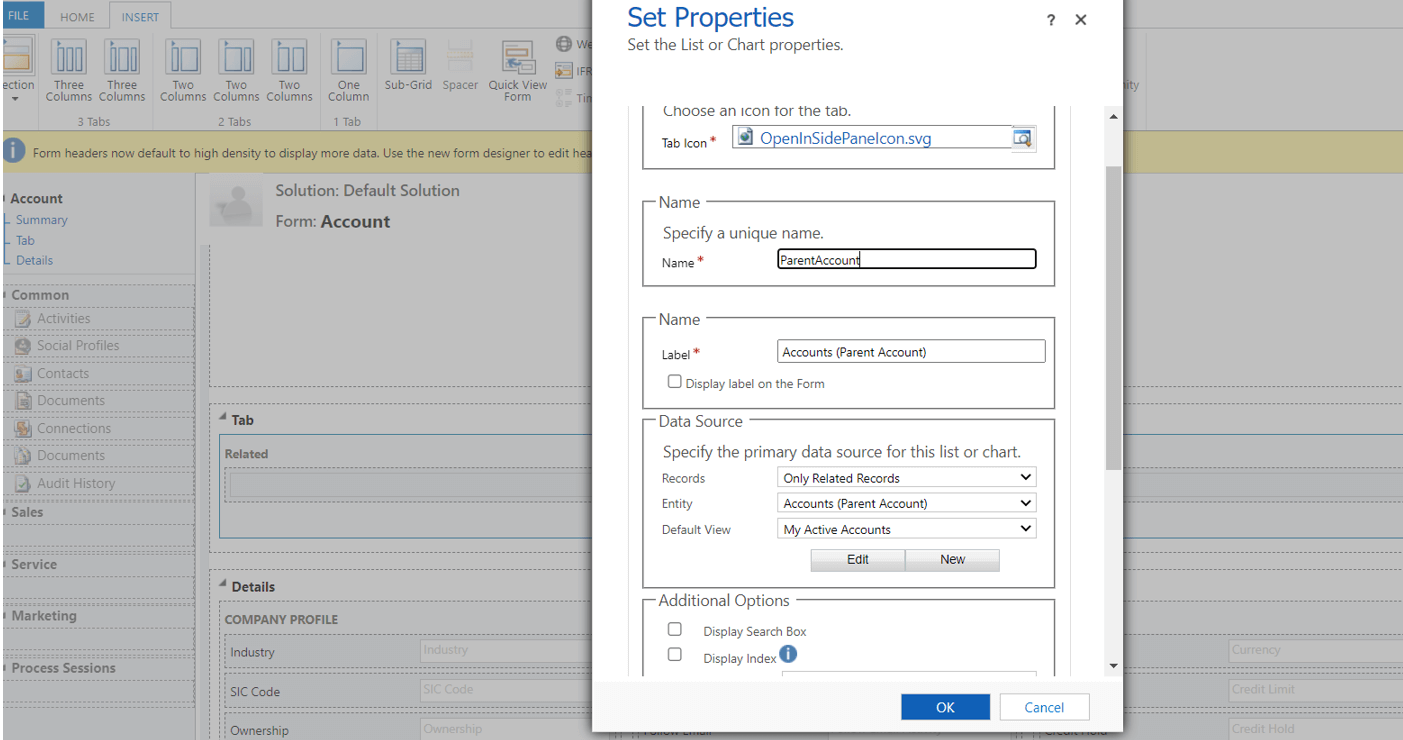
- Then insert the multiple subgrids as per your requirement in this section.
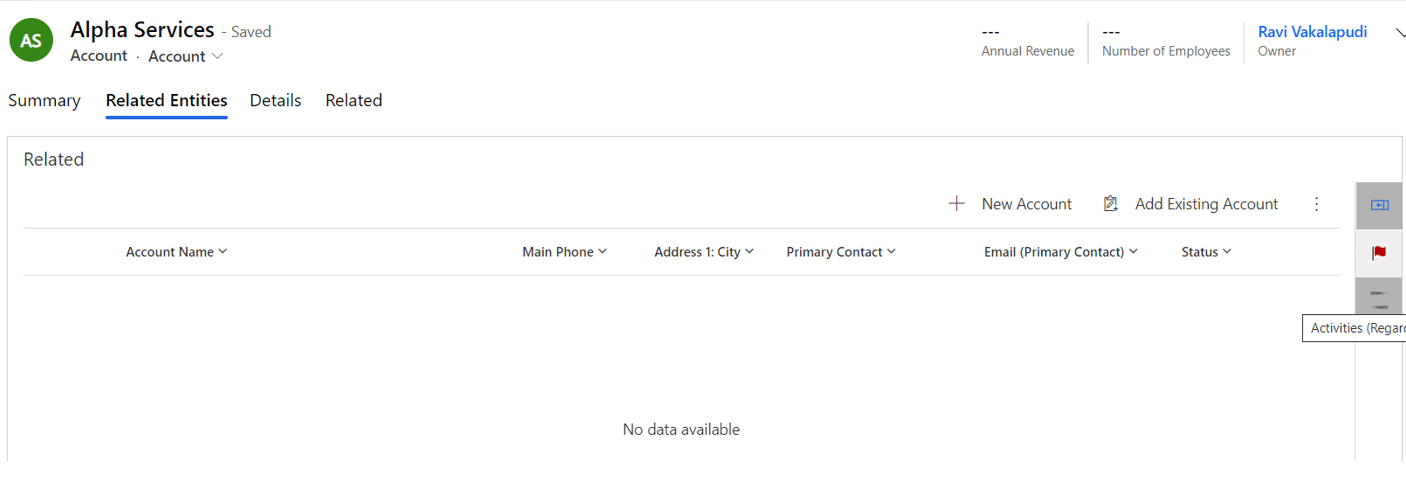
- Then save and publish the form, you will see a subgrid with multiple buttons attached to the subgrid as shown below. By clicking on each button, the subgrid will dynamically change the views.
Hope you learn something new today.
Happy Learning.
